Boiled Shrimp Done Right: Unlocking Optimal Flavor & Texture
Few culinary delights are as universally cherished as perfectly cooked boiled shrimp. Its simplicity belies a sophisticated technique that, when mastered, yields succulent, tender shellfish bursting with natural flavor. While seemingly straightforward, achieving truly exceptional authentic Spanish boiled shrimp – or any style, for that matter – involves a few crucial steps that elevate it from good to unforgettable. This comprehensive guide will walk you through the ultimate boiled shrimp recipe, ensuring every bite is a testament to culinary perfection.
Across Spain, gambas cocidas (boiled shrimp/prawns) are a beloved staple, savored for their delicate taste and satisfying texture. The secret, as many Spanish chefs will tell you, lies not in elaborate ingredients, but in the quality of the shrimp and a precise cooking method designed to prevent overcooking and preserve tenderness. This article focuses on that authentic, quick-cooking approach.
The Foundation: Why Quality Shrimp and Simple Ingredients Matter
The journey to superior boiled shrimp begins long before the pot hits the stove. The quality of your raw ingredients is paramount. For this boiled shrimp recipe, we champion the philosophy of "less is more," allowing the natural sweetness of the shrimp to shine.
- Shrimp: Aim for about 1 to 2 pounds (0.5 to 1 kilo) of fresh, raw shrimp with their shells on. While frozen shrimp can be used, they must be completely defrosted first to ensure even cooking and optimal texture; however, fresh will always yield a superior result. If possible, opt for wild-caught varieties, which often boast a richer, more pronounced flavor compared to farm-raised alternatives. In Spain, you'll encounter terms like gambas (small to regular-sized shrimp), langostinos (larger prawns or gumbo shrimp), and camarones (jumbo shrimp). Any of these can be prepared with this technique, though larger varieties might require a touch more cooking time.
- Water: You'll need generous amounts – approximately 4-5 quarts for boiling and another 4 quarts for your essential ice bath.
- Salt: This isn't just for seasoning; it infuses the shrimp with flavor from within. Traditional sea salt is the preferred choice, imparting a clean, briny taste that complements the shrimp beautifully.
- Ice: Your secret weapon! Abundant ice is critical for immediately stopping the cooking process and ensuring your shrimp remain incredibly tender and easy to peel.
The Essential Technique: A Step-by-Step Boiled Shrimp Recipe
This method focuses on speed and precision, ensuring perfectly tender shrimp every time. The entire cooking process takes only minutes!
Step 1: Prepare the Critical Ice Bath
This is the first and arguably most vital step, as it will dramatically impact the final texture of your shrimp. Pour about 4 quarts of cold water into a large bowl. Generously add a substantial amount of ice – the more, the better. Add a good amount of salt to this ice bath (around 1/4 cup) and stir until most of it dissolves. The salty ice water not only chills the shrimp rapidly but also adds subtle seasoning and can contribute to easier peeling. Place this bowl near your stovetop, ready for immediate use. For more details on this crucial technique, see our guide on Perfectly Tender Boiled Shrimp: The Essential Ice Bath Method.
Step 2: Bring Water to a Rolling Boil
In a large pot, bring 4-5 quarts of fresh water to a vigorous, rolling boil. Add a generous amount of salt to the boiling water – don't be shy; it should taste like the sea (approximately 1/4 to 1/2 cup, depending on your preference and the volume of water). This ensures the shrimp are seasoned as they cook.
Step 3: Add the Shrimp and Cook Quickly
Once the water is at a rapid boil, add all the raw shrimp at once. Stir them gently to ensure even exposure to the hot water. Watch them closely! Shrimp cook incredibly fast, typically in just 2-3 minutes. You'll know they're done when they:
- Turn a vibrant pink color.
- Become opaque throughout.
- Start to float to the top of the water.
- Their tails begin to curl inwards slightly.
The moment you observe these signs, they are ready. Do not overcook them, as this leads to rubbery, tough shrimp.
Step 4: The Immediate Ice Bath Transfer
Using a large slotted spoon or a spider strainer, swiftly remove the cooked shrimp from the boiling water. Immediately transfer the drained shrimp directly into the prepared ice bath. This abrupt temperature change, known as "shocking," halts the cooking process instantly, preserving their delicate texture and preventing them from becoming tough. If you're cooking a large batch, you might need to add more ice to the bath to maintain its frigid temperature.
Step 5: Chill and Serve
Allow the shrimp to cool in the ice bath for approximately 15 minutes. This ensures they are thoroughly chilled and fully "shocked." Once cooled, drain them thoroughly in a colander. Your perfectly boiled shrimp are now ready! Serve them immediately for the best experience, or cover them with a moist paper towel and refrigerate for up to one day. Chilling them before serving can also enhance their firmness and flavor, making them ideal for a cold appetizer.
Pro Tips for the Best Boiled Shrimp
- Don't Overcrowd the Pot: If you're cooking a very large quantity of shrimp, consider boiling them in batches. Overcrowding can lower the water temperature too much, leading to uneven cooking and longer cook times.
- Seasoning the Water: Beyond salt, you can experiment with other aromatics in the boiling water for different flavor profiles. A dash of cider vinegar (as some recipes suggest), a bay leaf, or a few peppercorns can add subtle notes without overpowering the shrimp's natural taste. For a more robust, American-style flavor, a tablespoon or two of Old Bay Seasoning in the boiling water can be transformative.
- Peeling Made Easy: The rapid chilling in the ice bath helps the shrimp shells "pop" off more easily, making the peeling process less cumbersome.
- Deveining: For smaller shrimp (like gambas), deveining is often unnecessary, especially if you plan to peel them before eating. For larger shrimp, you might choose to devein after boiling and peeling, though many prefer to leave the vein, which is harmless to consume.
- Serving Temperature: While delicious hot, these boiled shrimp are arguably at their best when served chilled. The cold enhances their firm, tender texture and makes them incredibly refreshing, particularly during warmer months.
Serving Suggestions & Culinary Pairings
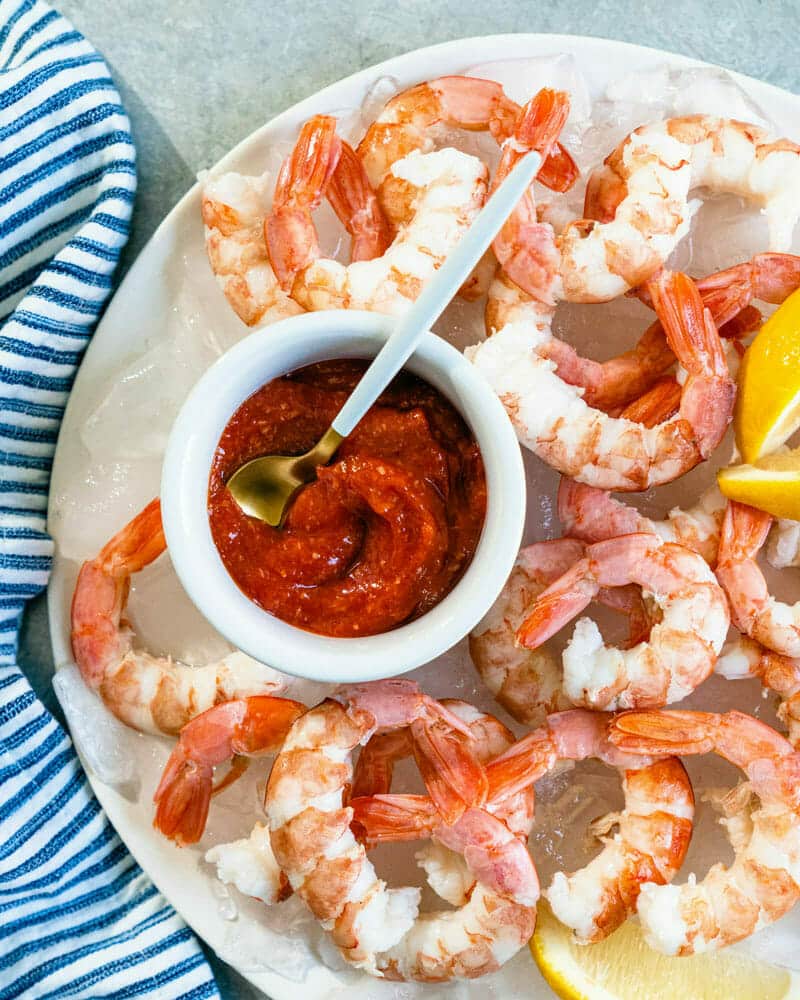
The beauty of perfectly boiled shrimp lies in its versatility. In Spain, they are typically enjoyed simply, often with nothing more than a squeeze of fresh lemon juice – a truly sublime experience that highlights their inherent deliciousness. However, you can also elevate them with various accompaniments:
- Classic Dipping Sauces: Cocktail sauce, a creamy aioli, or a zesty remoulade are popular choices.
- Mediterranean Flair: A drizzle of high-quality extra virgin olive oil, a sprinkle of smoked paprika (pimentón), and a pinch of chopped fresh parsley can transport your taste buds to the Spanish coast.
- Salads and Appetizers: Boiled shrimp make an excellent addition to green salads, pasta salads, or as part of a seafood platter alongside oysters and crab claws.
- Beverage Pairings: Complement the delicate flavor of the shrimp with a crisp, dry white wine like Albariño or Sauvignon Blanc, or a light, refreshing beer.
Conclusion
Mastering the art of boiled shrimp is a testament to the idea that simplicity, when executed with precision, can yield extraordinary results. By focusing on fresh, quality ingredients, a precise cooking time, and the indispensable ice bath method, you can consistently achieve optimal flavor and texture. This boiled shrimp recipe offers a quick, delicious, and impressive appetizer or light meal that will delight your palate and leave you wondering why you ever settled for anything less. Embrace the technique, savor the natural goodness, and enjoy your perfectly cooked shrimp!
