Unlock Authentic Spanish Flavor: Your 5-Minute Guide to Perfect Boiled Shrimp
Imagine sun-drenched coastal towns, the gentle murmur of the Mediterranean, and a plate of exquisitely fresh, tender shrimp, simply prepared to highlight their natural sweetness. This isn't a dream; it's the reality of gambas cocidas, or authentic Spanish boiled shrimp. Far from complicated, this traditional delicacy is a testament to the Spanish culinary philosophy: use exceptional ingredients, prepare them simply, and let their inherent flavors shine. Best of all? This beloved dish can be on your table in as little as five minutes of active cooking, making it an ideal starter or light meal for any occasion.
For many, the idea of "boiled shrimp recipe" might conjure images of overcooked, rubbery seafood. But in Spain, it's an art form perfected through generations. The secret lies not in complex marinades or elaborate sauces, but in a precise cooking technique and the absolute freshest shrimp. By following a few crucial steps, you'll discover how to achieve shrimp that are unbelievably tender, perfectly seasoned, and a joy to peel.
Why Authentic Spanish Boiled Shrimp Reigns Supreme
The Spanish palate has an unwavering appreciation for high-quality seafood, and nowhere is this more evident than in the simplicity of gambas cocidas. Unlike some international preparations that might involve heavy spices or elaborate sauces, the Spanish approach to boiled shrimp is minimalist by design. This "less is more" philosophy ensures that the delicate, sweet flavor of the shrimp remains the star of the show. It's a dish that celebrates the ocean's bounty, rather than masking it.
Central to this tradition is the unwavering commitment to using the freshest possible shrimp. Spaniards know that the quality of your raw ingredients dictates the final taste, and this dish is no exception. While frozen shrimp can be used in a pinch (and must be fully defrosted first), the difference in flavor and texture when using truly fresh, raw, shell-on shrimp is astounding. For the ultimate experience, seek out wild-caught shrimp, which often boast a richer, more pronounced flavor profile compared to farm-raised varieties.
In Spain, you'll encounter various terms for shrimp and prawns. Gambas generally refers to small to regular-sized shrimp, which are the most common choice for this recipe. Langostinos are larger prawns, sometimes referred to as "gumbo shrimp" in the US, offering a meatier bite. Camarones, on the other hand, often describe slightly larger shrimp, akin to "jumbo shrimp." Regardless of the specific size or local name, the fundamental cooking technique remains consistent, adapting only slightly for variations in cooking time. This straightforward method ensures that whether you're enjoying the famed gambas rojas de Huelva or readily available local shrimp, the result is consistently delicious.
The 5-Minute Secret: Essential Ingredients & Preparation
The beauty of this authentic boiled shrimp recipe lies in its incredibly simple ingredient list. You truly only need three core components, plus one crucial element for the post-boil shock:
- Fresh Shrimp: Aim for about 2 pounds (1 kilo) of raw, shell-on shrimp. As discussed, gambas or langostinos are perfect. The shells are vital for retaining moisture and flavor during cooking, and they make for a more authentic peeling experience. Always opt for fresh if possible; if using frozen, ensure they are completely thawed before cooking.
- Water: You'll need a generous amount for both boiling and your ice bath. Approximately 4-5 quarts for boiling the shrimp and another 4 quarts for the ice bath. The volume is important to ensure even cooking and efficient chilling.
- Sea Salt: This is more than just a seasoning; it's a flavor enhancer. Sea salt is the traditional choice due to its clean taste and mineral profile, which complements the shrimp beautifully. You'll be using it generously.
- Ice: Absolutely non-negotiable! You'll need a substantial amount of ice to create an immediate ice-cold bath. This step is critical for achieving that coveted tender texture and ensuring easy peeling.
Preparation is Key to Speed
While the actual cooking takes mere minutes, a little pre-preparation ensures a seamless process. Before you even think about boiling, you must set up your ice bath. Fill a large bowl (big enough to hold all your cooked shrimp) with 4 quarts of cold water. Add a generous handful or two of sea salt to this water and stir until much of it dissolves. Then, dump in a significant amount of ice – enough to make the water truly ice-cold. Having this ready and waiting is the most important preparatory step, as timing is everything once the shrimp hit the hot water.
Mastering the Boil: Step-by-Step Perfection
Achieving perfectly tender, flavorful boiled shrimp is all about precision and timing. Here's how to do it:
- Bring Water to a Rolling Boil: In a large pot, bring 4-5 quarts of water to a vigorous, rolling boil. This ensures the temperature doesn't drop too much when the shrimp are added. Now, generously season your boiling water with sea salt. Think of it like cooking pasta – the water should taste like the sea. This salt isn't just for boiling; it infuses flavor directly into the shrimp as they cook.
- Add the Shrimp: Once the water is at a full boil, add all your raw shrimp at once. Give them a gentle stir to ensure they are submerged and cooking evenly.
- Watch Closely – The 2-3 Minute Window: This is the "5-minute" magic part of the recipe (including the subsequent cooling). Shrimp cook incredibly fast. You'll need to watch them like a hawk! As soon as they turn a vibrant pink or reddish color and begin to float to the top, they are done. Their tails will also start to curl inwards slightly. This usually takes just 2 to 3 minutes, sometimes even less for smaller shrimp. Overcooking is the enemy of tender shrimp, so be swift.
- Immediate Ice Bath Transfer: As soon as the shrimp show those tell-tale signs of being cooked, quickly remove them from the boiling water using a large slotted spoon or a spider strainer. Do not let them sit in the hot water for even an extra second.
- Shock and Cool: Immediately transfer the hot, drained shrimp directly into your prepared ice-cold, salted water bath. This rapid temperature drop instantly halts the cooking process, preventing the shrimp from becoming tough and ensuring they remain beautifully tender. The cold shock also causes the meat to contract slightly, making the shells much easier to peel later. If the ice water warms up considerably after adding all the shrimp, feel free to add a little more ice to maintain its icy temperature. For optimal texture and cooling, let the shrimp chill in the ice bath for about 15 minutes. This ensures they're fully cooled and firmed up. For more insights on this critical step, refer to our article on Perfectly Tender Boiled Shrimp: The Essential Ice Bath Method.
- Drain and Serve: Once chilled, drain the shrimp thoroughly in a colander. They are now ready to be enjoyed!
Serving & Enjoying Your Gambas Cocidas
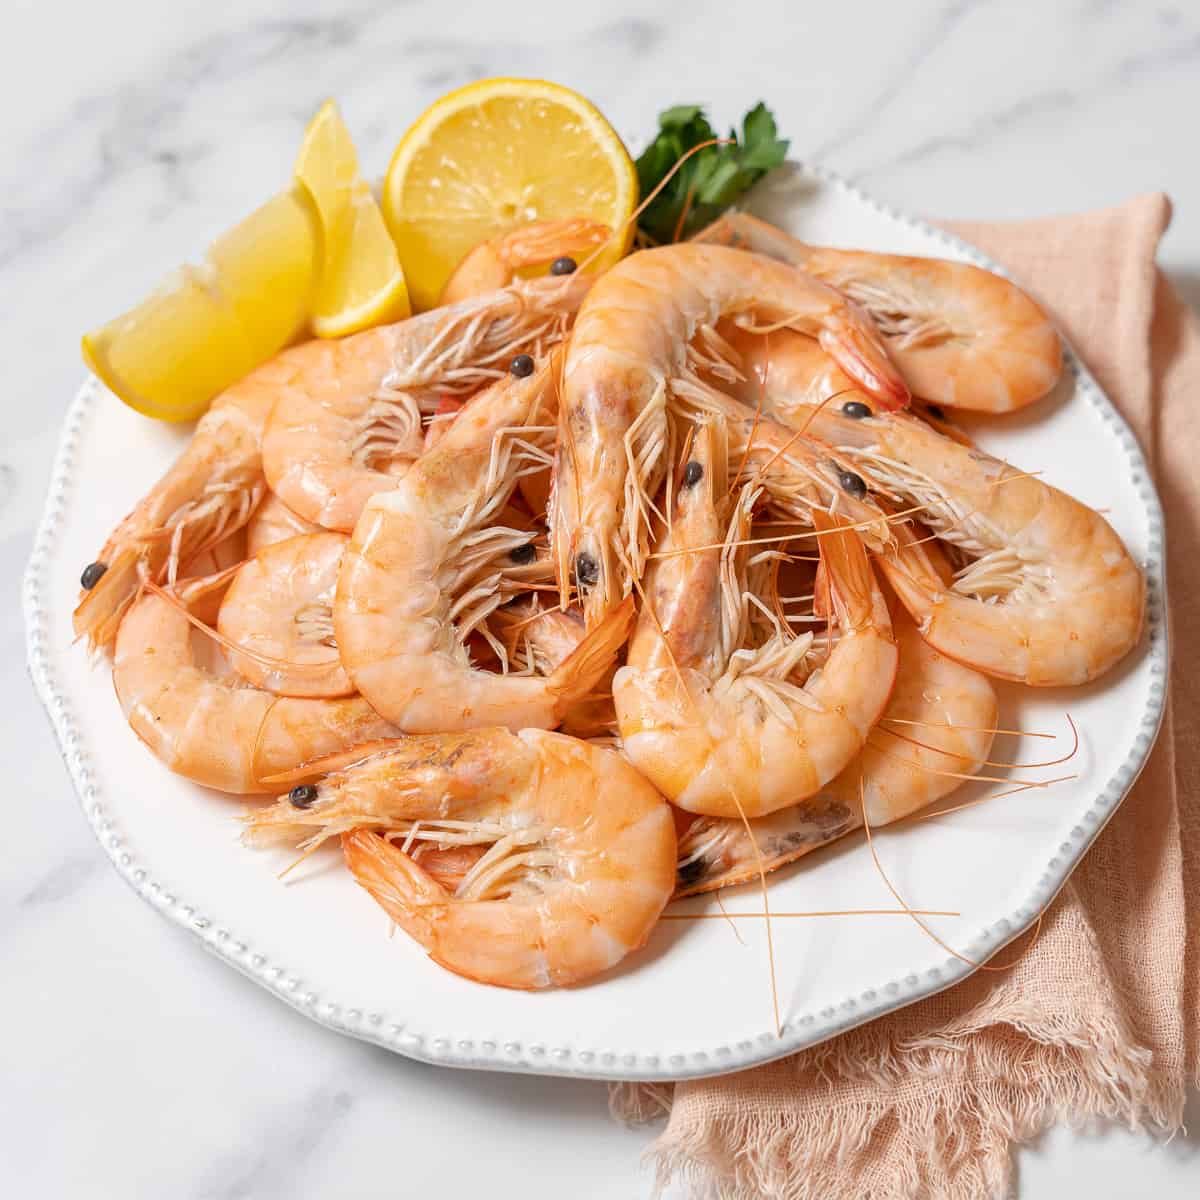
The traditional Spanish way to enjoy these boiled shrimp is incredibly simple: as they are! Their inherent flavor, enhanced by the sea salt, is truly all you need. A squeeze of fresh lemon juice is a common, delightful addition, offering a bright counterpoint to the shrimp's sweetness. There's usually no need for complicated dips or sauces, though a simple aioli could be a lovely accompaniment if you desire.
When it comes to eating, most Spaniards peel their own shrimp at the table. Don't worry about deveining; with fresh shrimp, it's rarely necessary, and part of the rustic charm is peeling and enjoying them immediately. Pair them with a crisp, dry white wine like Albariño or a chilled beer for a quintessential Spanish experience. They make a fantastic standalone appetizer, a light lunch, or part of a larger tapas spread. For a deeper dive into optimizing flavor and texture, check out Boiled Shrimp Done Right: Achieving Optimal Flavor & Texture.
If you have any leftovers, cover them with a moist paper towel and refrigerate for up to one day. While best enjoyed fresh, they can still be delicious the next day in salads or other cold dishes.
Conclusion
Mastering this authentic Spanish boiled shrimp recipe is a culinary revelation. It's proof that sometimes, the simplest methods yield the most profound flavors. With just three ingredients and a keen eye on the clock, you can transform fresh shrimp into a tender, succulent delicacy that transports you straight to the sun-drenched coasts of Spain. So, gather your fresh shrimp, prepare your ice bath, and get ready to impress yourself and your guests with this effortlessly elegant and incredibly delicious dish. Enjoy the pure, unadulterated taste of the sea, ready in just 5 minutes!
